 Lilacpane
Prepare your source
Use an original screenshot with no device frame already added. Keep the full screen, including the top and bottom navigation areas.
Download Lilacpane on the App Store · Free to download; some features require an in-app purchase.
The examples below show the English interface. Use the same controls in your selected language.
1. Add an iPhone frame
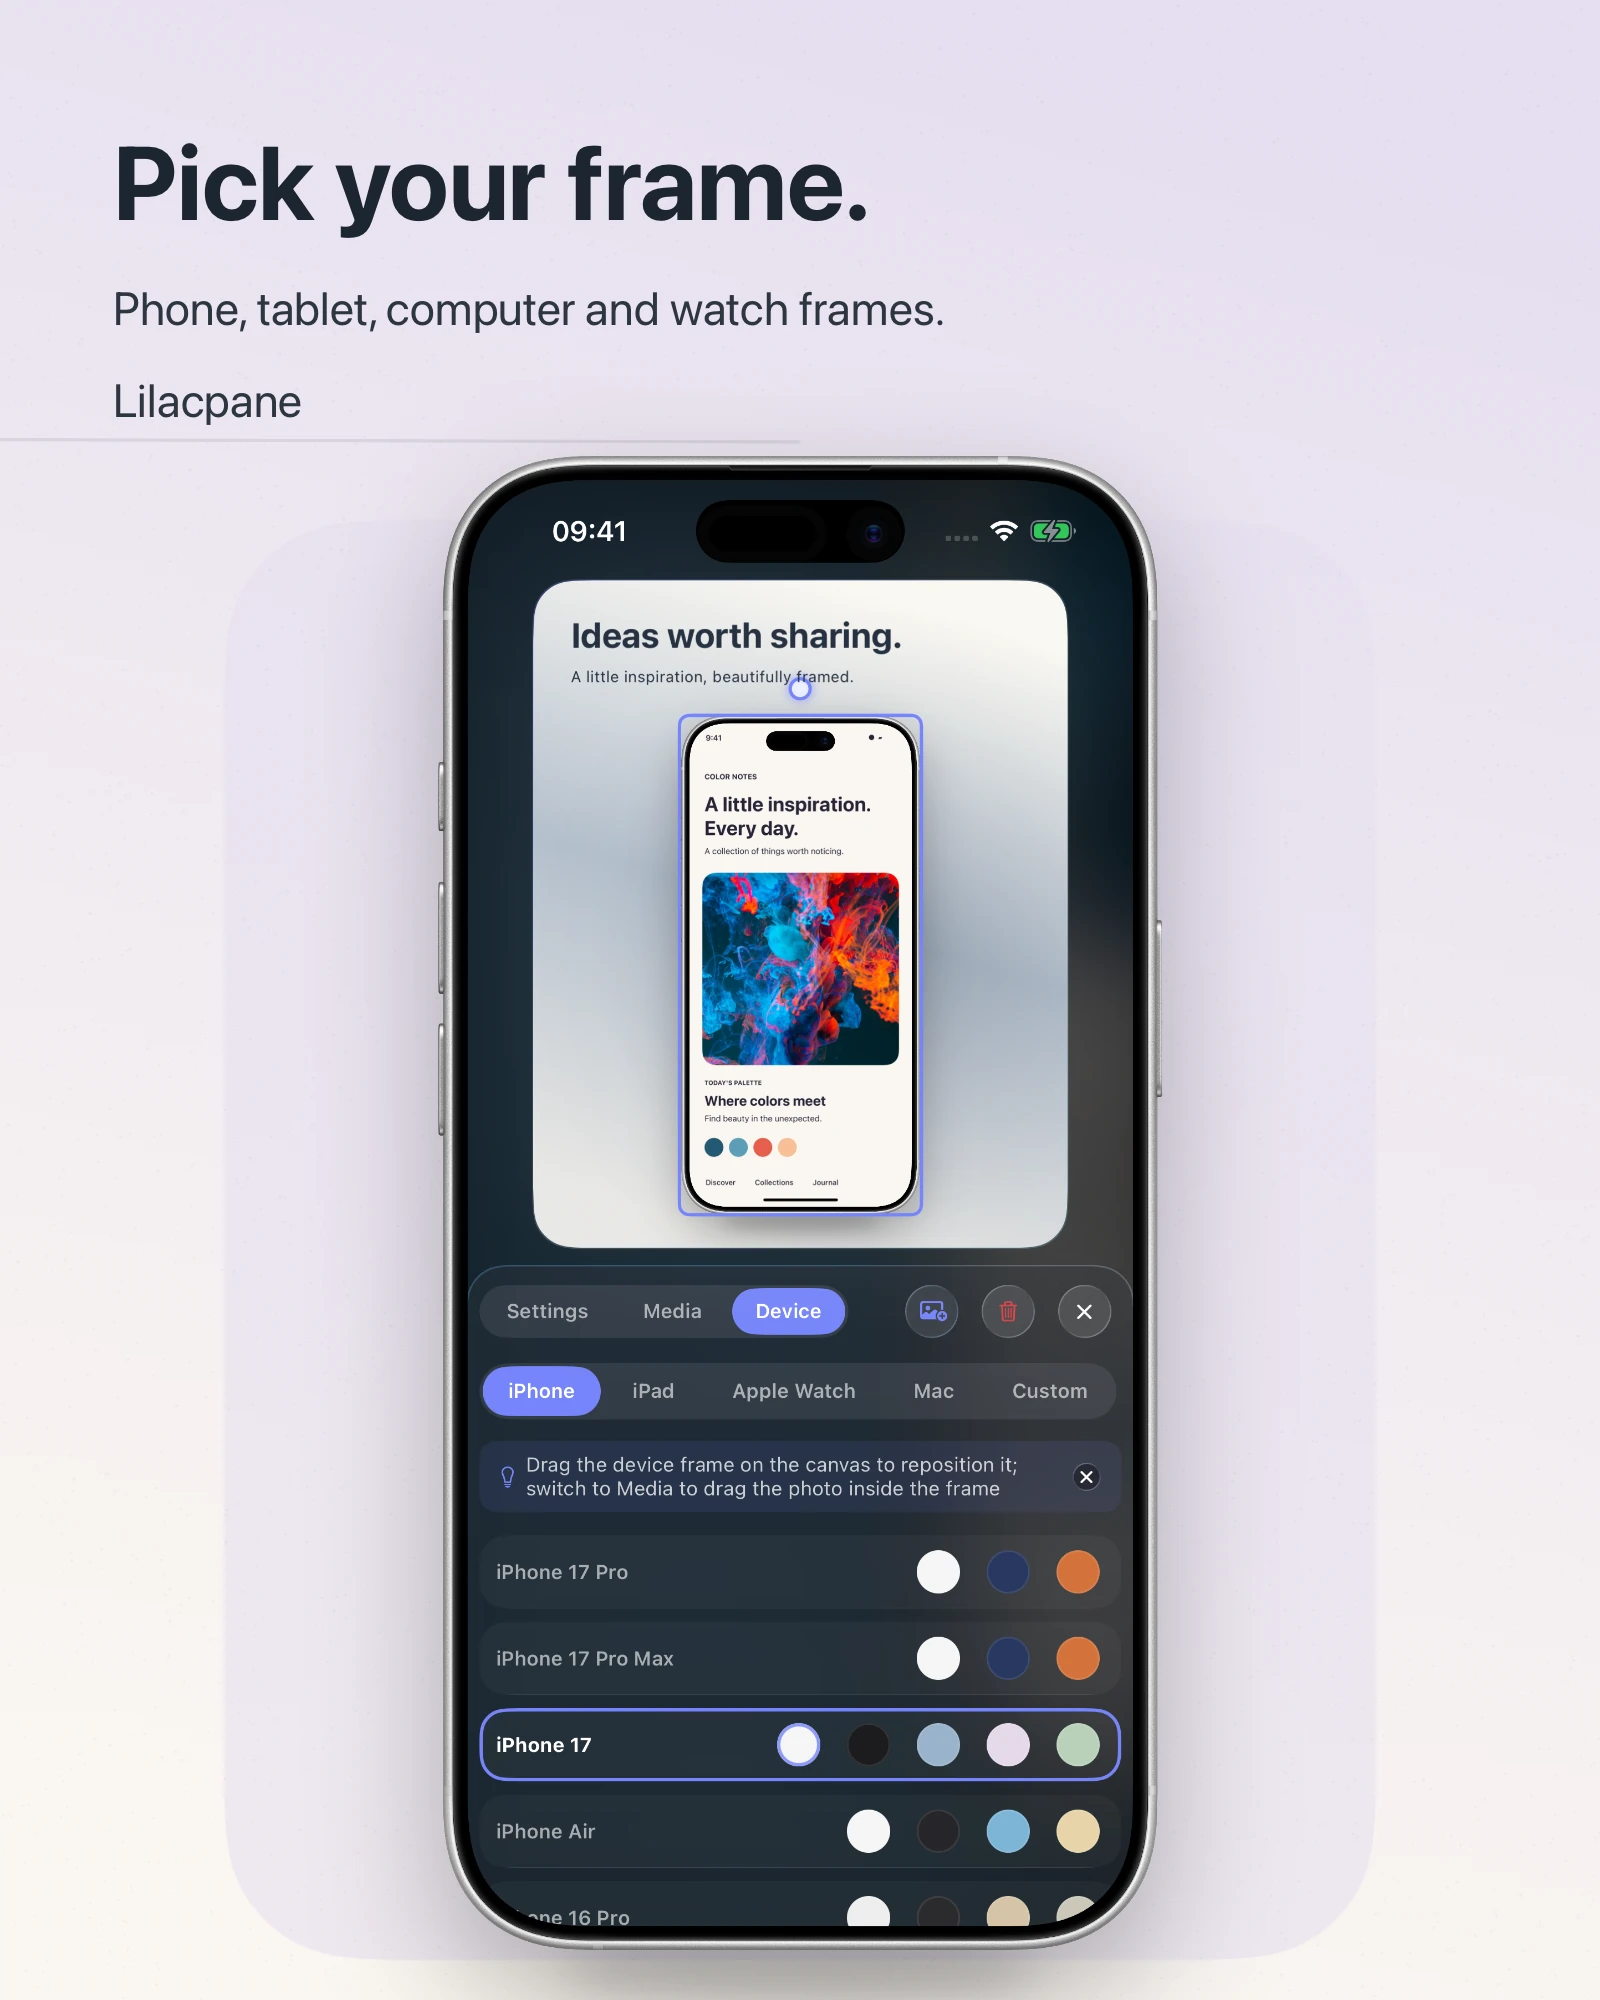
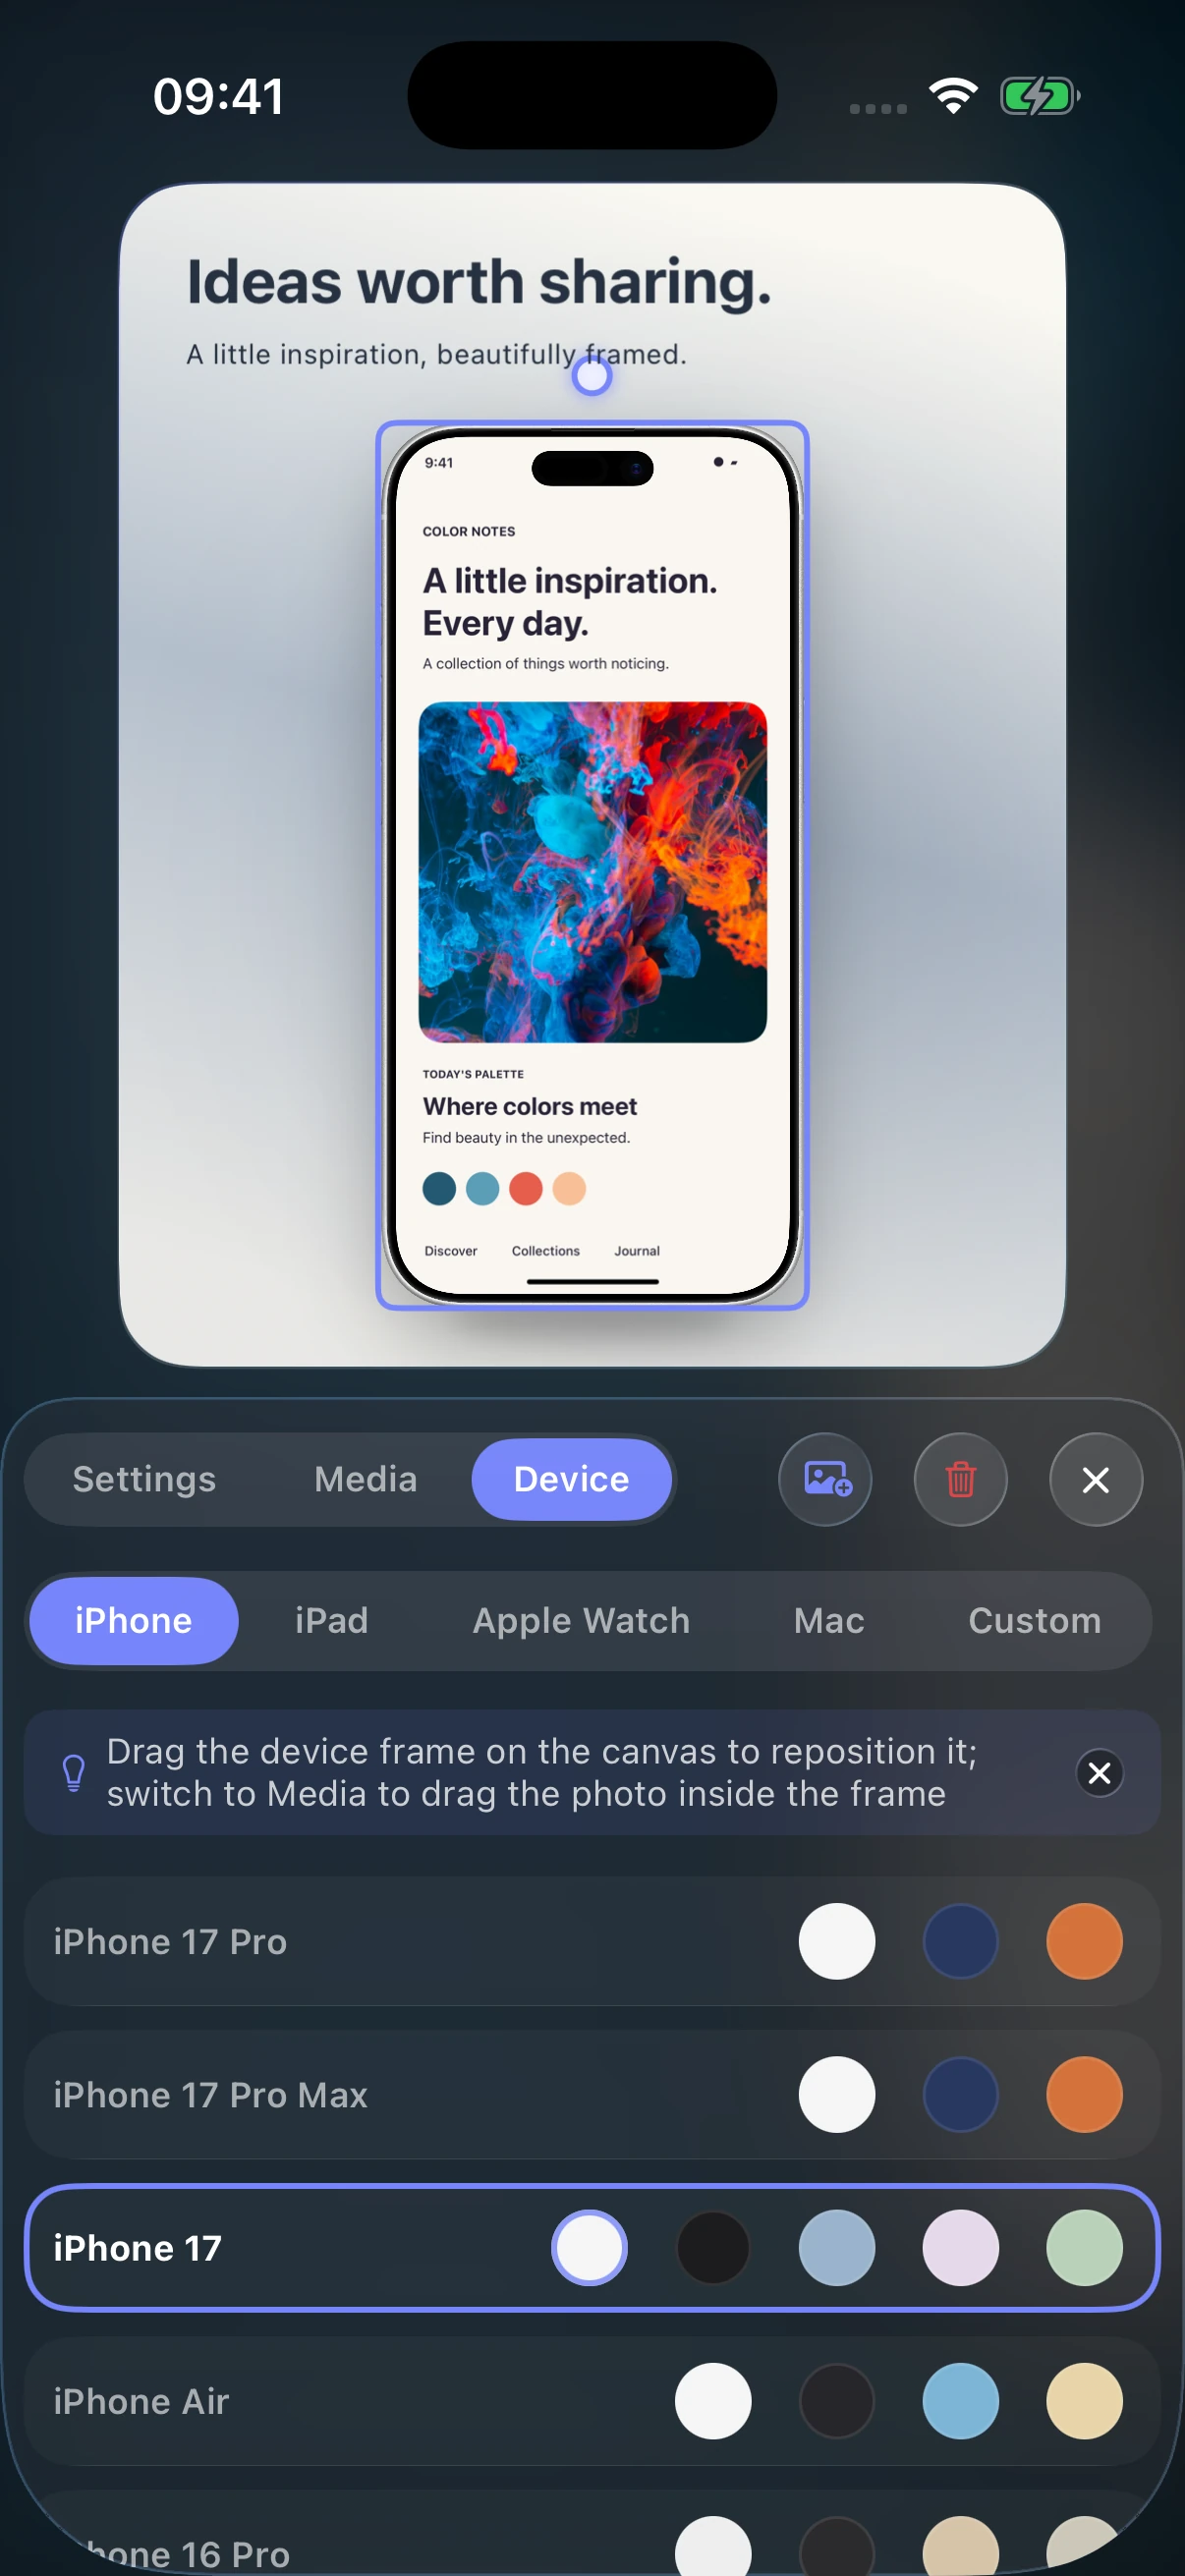
Tap the + in the upper right to add a device frame. Select the frame on the canvas, open Device, and choose an iPhone model and finish.
2. Put the screenshot inside the frame
With a frame on the canvas, tap Add at the bottom and choose your screenshot from Photos. If media is already present, this control may be labeled Edit. To replace the image in one frame, select that frame and open Media.
Adjust the position and size of the image inside the frame. Check the top of the screen, bottom navigation, and all four corners before moving on.
3. Choose a background and add a title
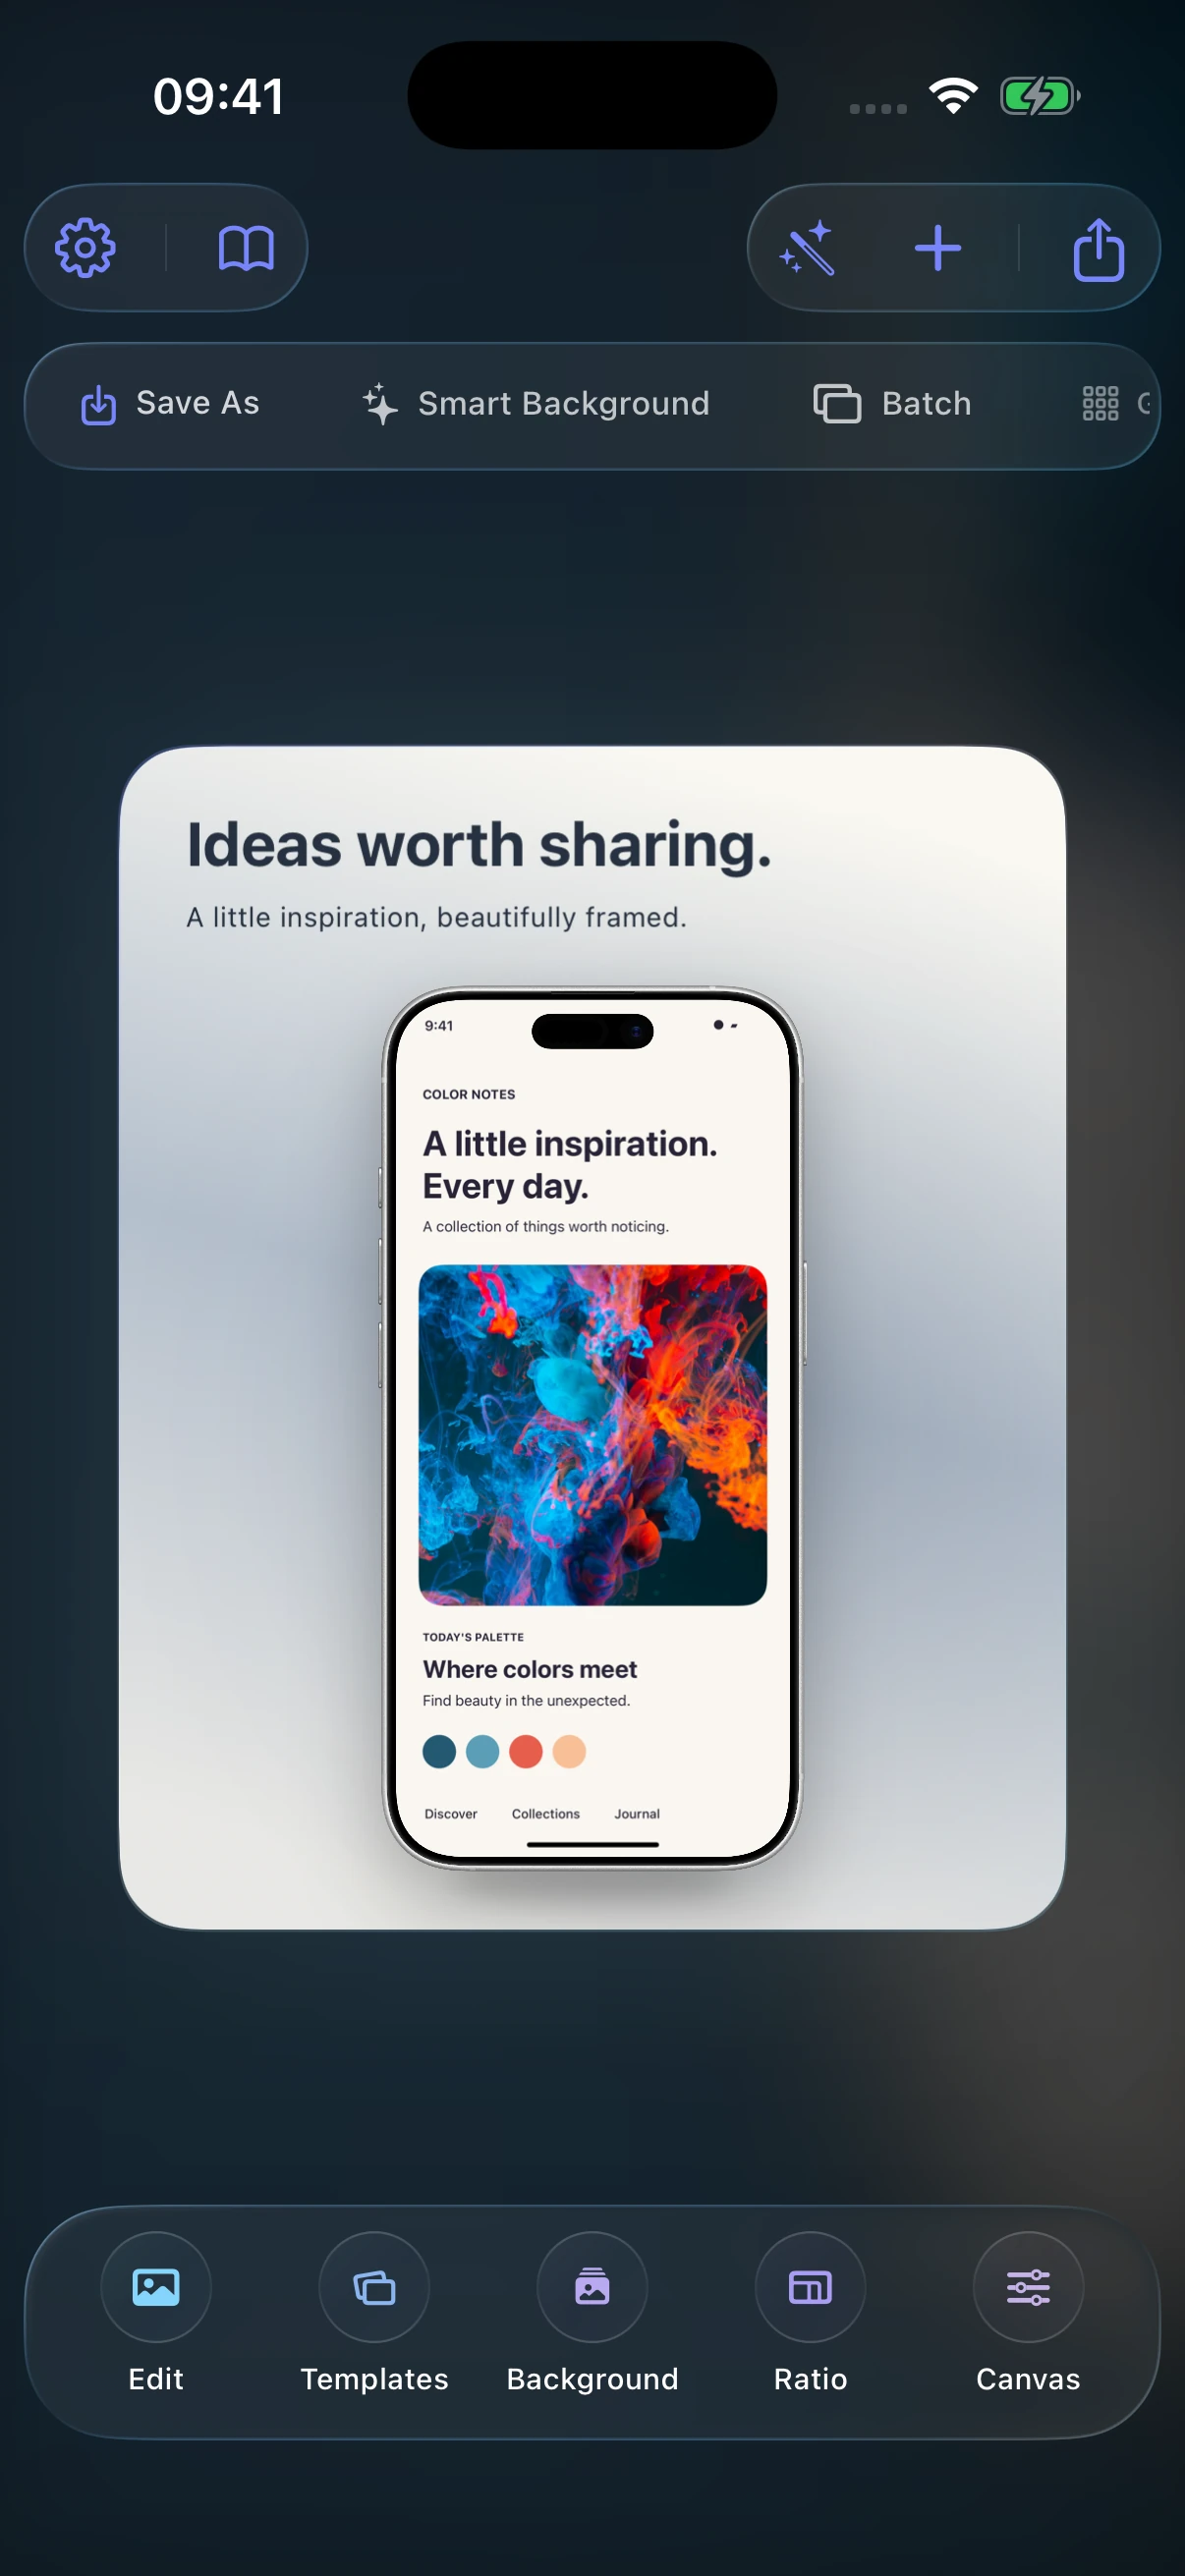
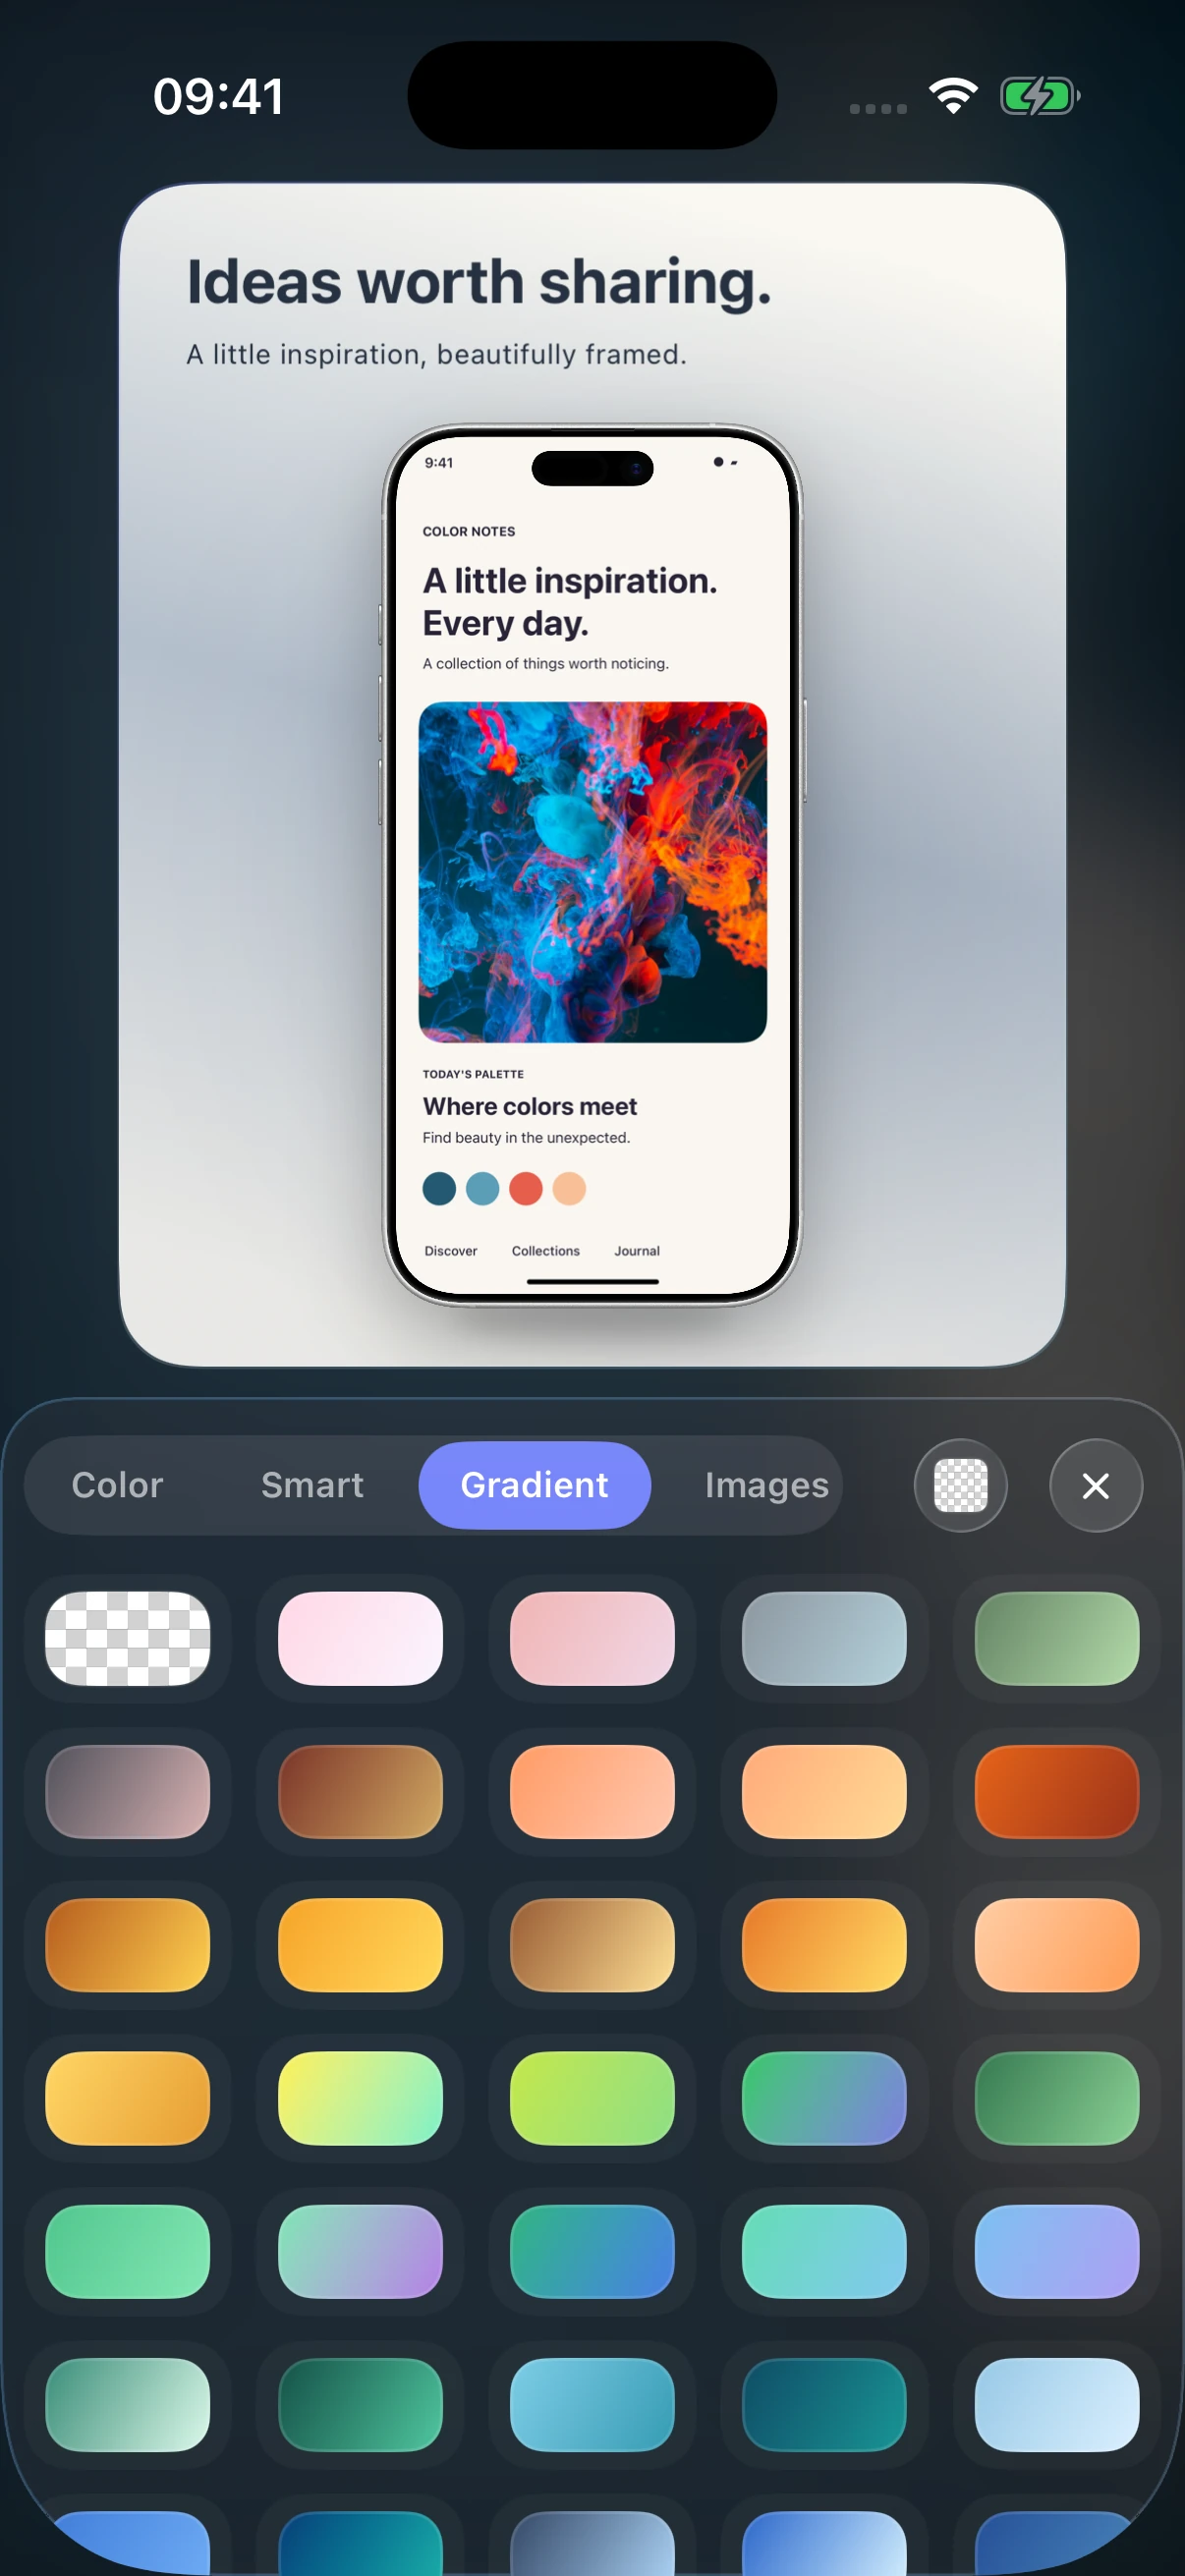
Tap Background in the bottom toolbar and choose a solid color, gradient, or image. Use + to add text. Leave enough space between the title and the device so both are readable.
4. Export and inspect the actual file
Tap the export icon in the upper right and choose the available settings for your destination. Open the saved file to check the text and edges at full size.
Check the exported image dimensions · App Store screenshot dimensions
Use the same workflow for a recording
FAQ
Why does the image have two frames?
The source already includes a phone body. Use a screenshot containing only the screen content.
Can I use the same frame for any screenshot?
Choose a frame that fits the source direction and proportions, then inspect the top and bottom edges.
Can I use the image as an App Store screenshot?
Check the exact exported dimensions and the store’s content requirements before submitting it.