 Lilacpane
Make the source suitable for public use before framing it
The easiest detail to miss in a product screenshot is often a small one: an email address beside an avatar, a notification at the top, a working invitation link, or a QR code inside an order card. Review the source before adding a device frame. A checked source can then support your website, tutorial, and social versions without repeating the same cleanup for every layout.
For product demonstrations, prepare a dedicated demo account with fictional content in your own app. Keep the real interface and interaction path, while replacing names, addresses, and project details with examples created for publication. This usually explains the product more clearly than covering many unrelated areas with boxes. The following is an editorial preparation workflow for product pages, tutorials, and portfolios.
Review the subject, then scan the edges
Decide what the screenshot needs to demonstrate. A task-management example might need to show project grouping, labels, and completion states. A real customer's name rarely helps explain those features. Use that distinction to decide what to keep, replace, or remove.
| Area | Easy-to-miss details | Suggested preparation |
|---|---|---|
| Account and content | Email addresses, avatars, client names, messages | Use demo content and capture the interface again |
| Screen edges | Notifications, status messages, browser tabs | Tidy the source screen or crop an irrelevant area |
| Scannable content | Login codes, order QR codes, invitation links | Remove real credentials and active access paths |
| Supporting assets | Addresses, name badges, filenames in background photos | Review backgrounds and overlays with the main image |
Scan from the upper corners through the center to the lower corners. Treat a thumbnail, popup, or embedded screenshot as another image that needs its own review. The area you want to highlight is only one part of the file you will publish.
Choose between recapturing, cropping, and covering
If private information is in an irrelevant edge area, cropping can simplify the composition. If it overlaps the feature you need to explain, recapture the screen using demo data. Apple's screenshot guide covers the built-in crop, markup, and save controls. See Apple's iPhone screenshot guide.
When covering information is necessary, use a method that fully replaces the sensitive area with opaque pixels in the final export, then inspect the result. A thin line, translucent highlighter, or stripe through the middle of a word is not a sufficient basis for deciding that private information is gone. Check for initials, trailing digits, and uncovered parts of a code around the edges.
Keep untouched sources in a private working folder and put reviewed exports in a separate public-ready folder. Choose a filename without account or client information, such as task-list-demo-en.png. This simple separation also makes it less likely that you select an original while uploading.
Review the sharing options
Apple explains that photo sharing can include metadata, and that All Photos Data can include the original and edit history with supported sharing methods. Review the Options panel, including location and file settings. See Apple's photo-sharing guide.
If your composition includes camera photos, review their location information too. Apple's location-metadata guide explains the relevant controls. Do not assume that adding a frame or changing the file format automatically removes every piece of metadata.
Deliver the reviewed export. Reopen it to check its content and filename. If another app is involved in delivery, inspect the version received at the destination. An editable source package and a finished public image serve different purposes.
Frame the prepared image and inspect the final file
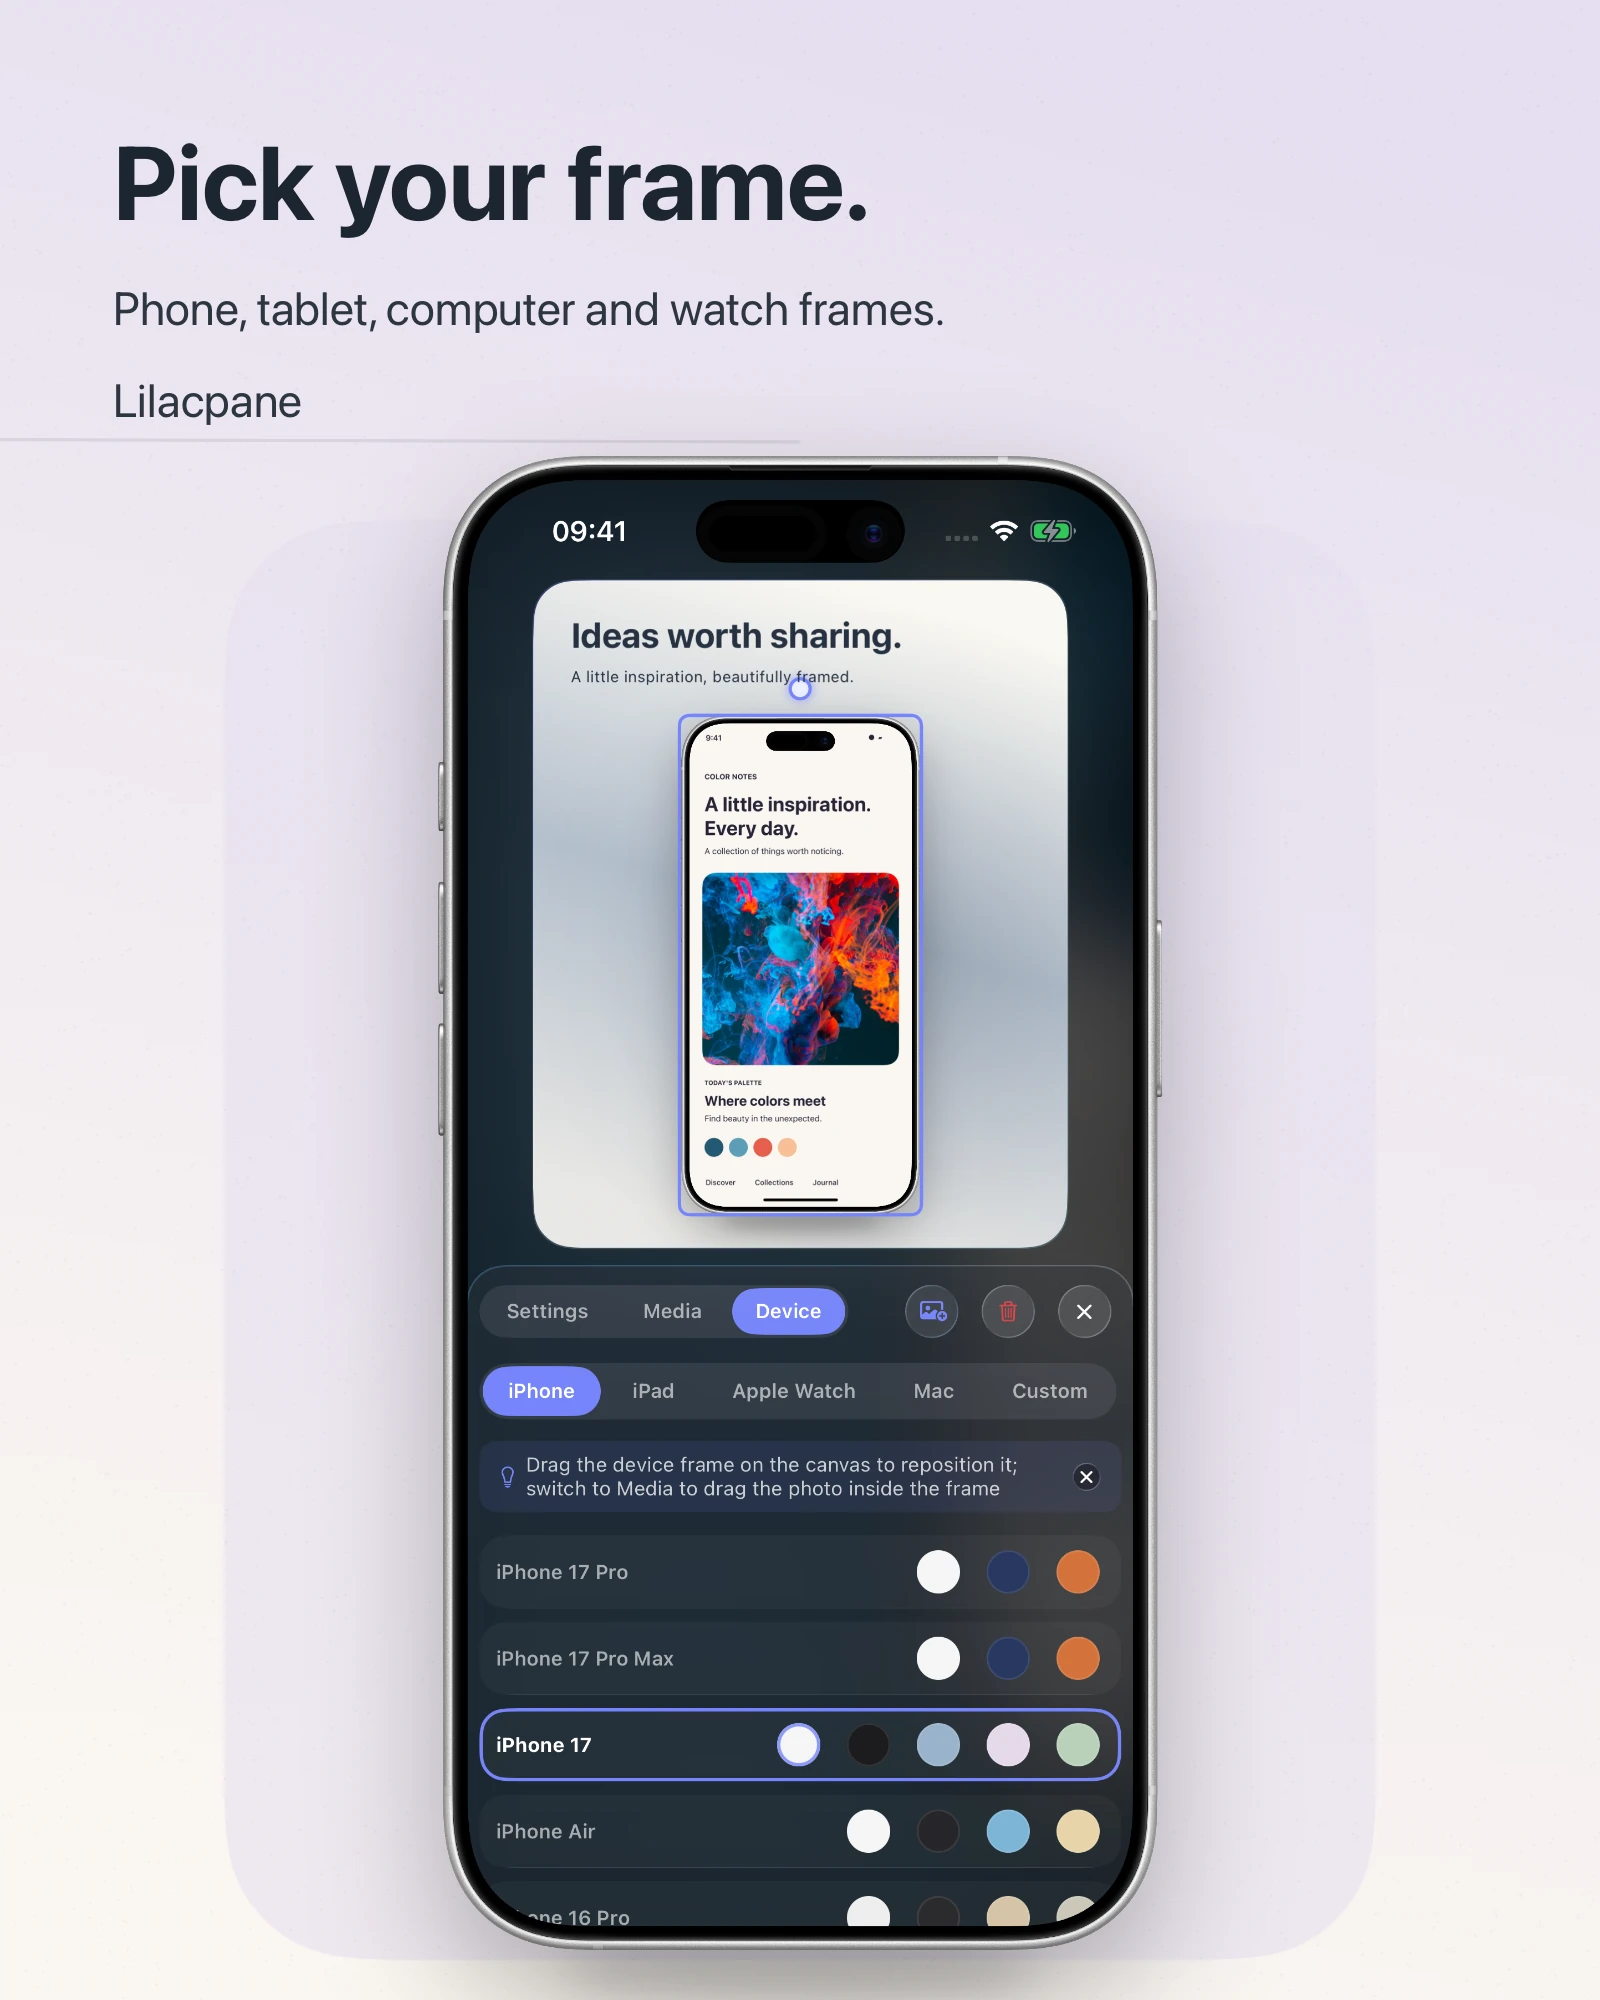
Import the prepared image into Lilacpane, manually choose a suitable device frame, and arrange the background and headline. Lilacpane handles the presentation stage of this workflow. Prepare private content in the source app or an appropriate image-editing tool first.
After export, zoom in to look for remaining private details, then view the image at its intended display size to make sure your edits have not hidden the feature. Review the file you will actually upload. Export formats, scales, and available controls depend on the current app version.
- The public folder contains finished exports only.
- The screen, headline, and background photos have all been reviewed.
- No real credentials, working invitation links, or private notifications remain.
- The filename and sharing options match the intended publication.
- The uploaded version still explains the product clearly.
Common questions
Does a device frame remove private information?
No. A frame changes the presentation. Review and prepare the screen content before framing it.
What if my tutorial needs a name field?
Use fictional example names while preserving the real field and workflow. Keep the example consistent across the screenshot series.
Why reopen an image that already looks covered?
You need to verify the final pixels, the coverage area, and the exact file selected for sharing. The editing preview does not complete that check.
Official references